
Problem Case Management (PCMS 2.1) – Nexteer Web Users

Workflow: Click here to view workflow diagram.
Submit a Problem Case
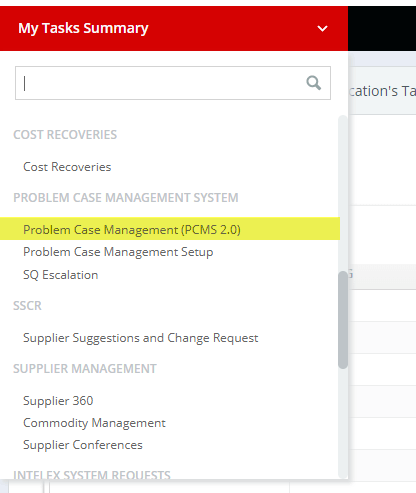
It is the responsibility of any Nexteer employee to track and submit any quality or compliance issues with a supplier. To submit a Problem Case in the Intelex system, navigate to Problem Case Management System (PCMS2.1) within the Applications dropdown in the red dropdown box on the left. Once this application page loads, follow the steps below to successfully submit a new Problem Case record:
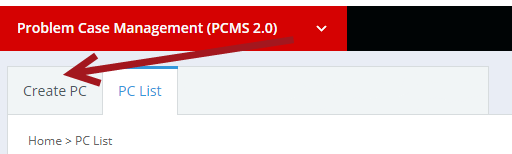
1. Start by selecting the Create PC tab on the left. This will take you to a new blank Problem Case:
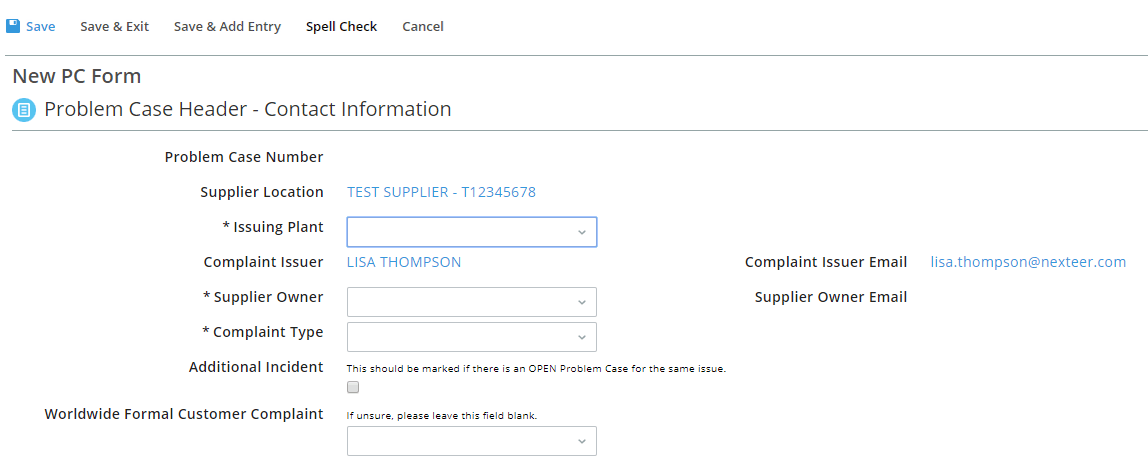
2. Enter in all the fields listed in the Problem Case Header-Contact Information Any field with an asterisk is a mandatory field and must be filled in before saving the record. Some fields will automatically be populated once the record has been saved. If it is not an Additional Incident skip to step 3.
ADDITIONAL INCIDENT
a. Check the box in the Additional Incident field within the Problem Case Header-Contact Information This will display a new field called Originating Problem Case.

b. Click Select next to the box to select from a list of all Open Problem Cases for that supplier location.
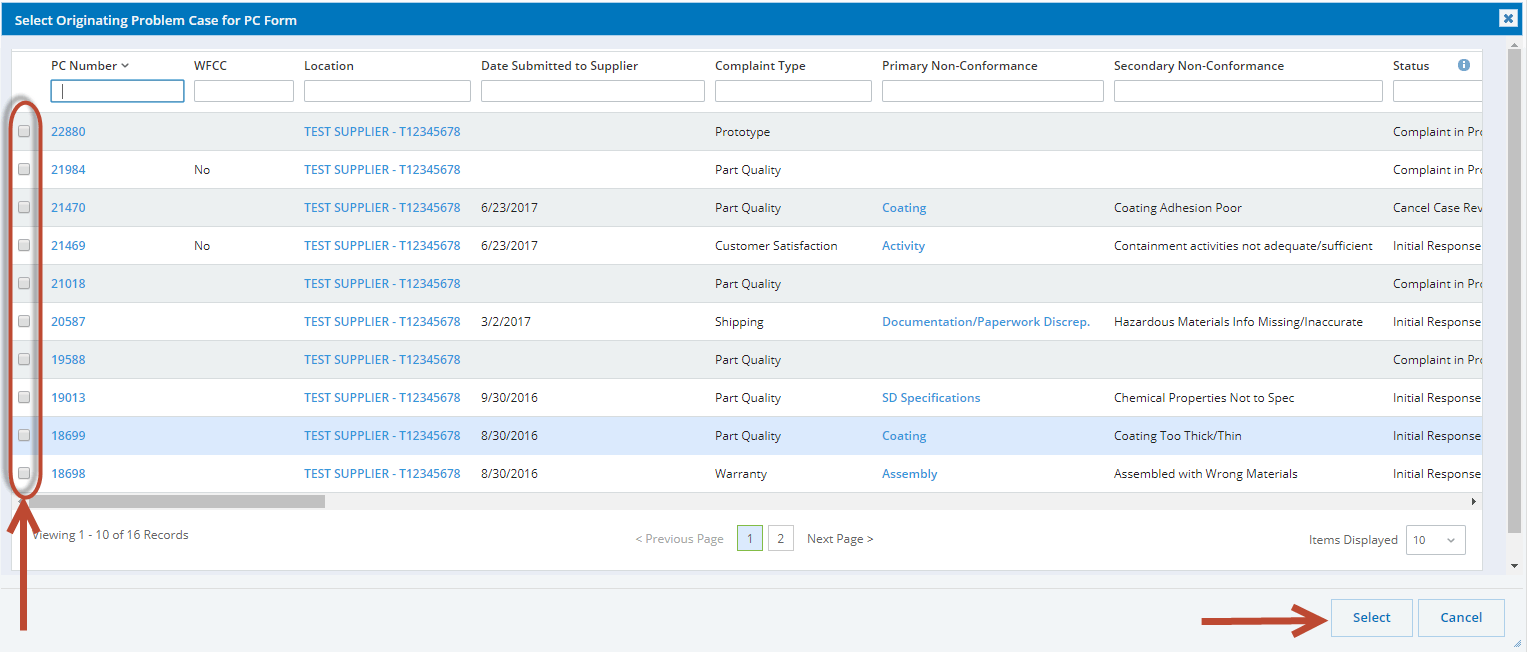
c. Check the box to the left of the Originating Problem Case you wish to select. Then click the Select button at the bottom. Note: if you click on the Problem case number, you will be taken to a new window to view the Problem Case in full detail.
3. After completing the Problem Case Header-Contact Information section click on the Save button in the menu bar.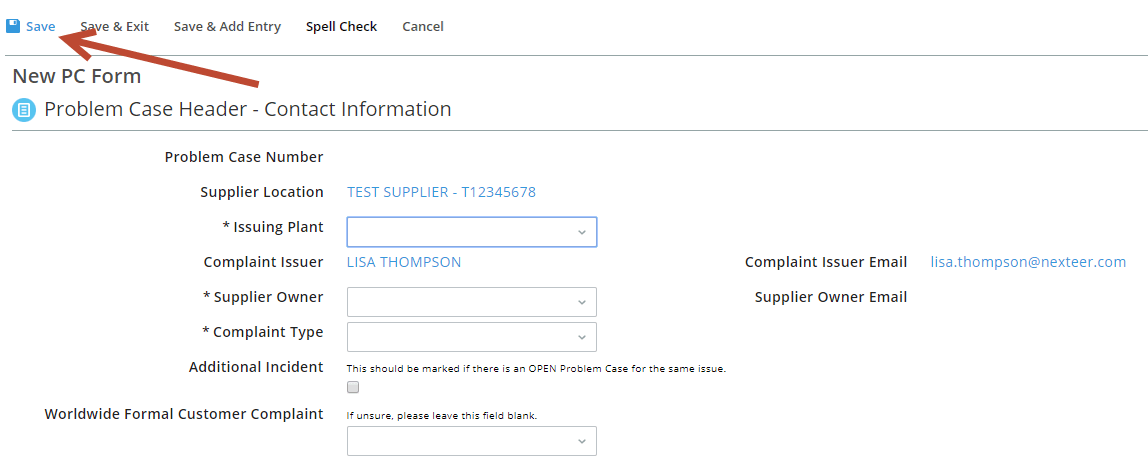
4. The Complaint Information section will now be displayed and must be completed. Reminder: fields with asterisks indicate that the field is required.
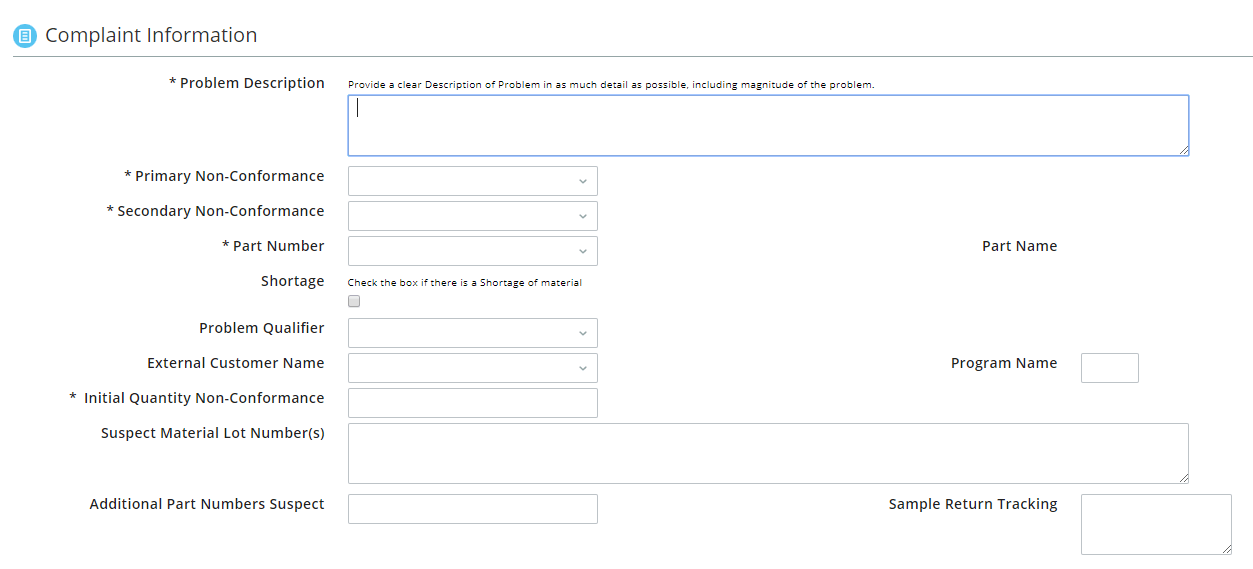
5. Once filled out, click Save in the menu bar and review the Complaint Information section. Note: once submitted these fields cannot be edited.

6. To attach documents/pictures, please see the guide on the learning center. https://www.nexteer.com/learning-center/
7. To ensure that the supplier is aware of the Problem Case, click the Submit to Supplier button in the menu bar. The Problem Case will move into the next step in the workflow. Note: If you do not click the Submit to Supplier button, the supplier will not be able to respond to the issue.

8. The supplier is now required to submit an Initial Response to the Problem Case.
Supplier Quality Manager: Assigning SQEs
Now that the Problem Case has been submitted, the Regional Supply Quality Manager will be notified by email, or in their My Tasks Summary page, that they are required to assign an SQE to the Problem Case if it is not a Nexteer to Nexteer, Shipping or Prototype Problem Case. To assign an SQE follow these steps:
1. After opening the task from your email or your My Tasks Summary page, click the Edit button in the menu bar.
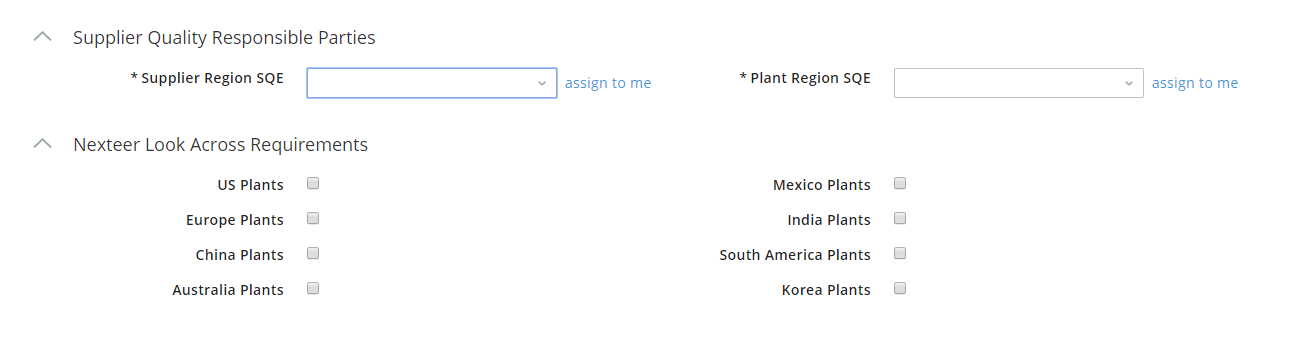
2. Assign the Supplier Region SQE and Plant Region SQE by selecting their name from the dropdown. Note: The Supplier Region SQE and Plant Region SQE cannot be the same person. Also, check a box next to the affected regional plants to indicate Nexteer Look Across Requirements. At a minimum, your location must be selected.
3. Click the Save button in the menu bar and then review to ensure you have the proper people assigned.
4. Click the Information Updated button in the menu bar. This will assign the responsibilities of this Problem Case to the selected persons at the appropriate stages. An early notification of the issuance of this Problem Case will also be sent to these selected individuals.

Supplier Dispute Review
During the Supplier Initial Response stage, the supplier has an opportunity to dispute the Problem Case details. If disputed, the record will be sent back for review of the Dispute Reason and comments entered by the Supplier. If the Problem Case has been disputed, an email notification will be sent, as well as a task added to your My Tasks Summary page. To complete this task, follow the steps below:
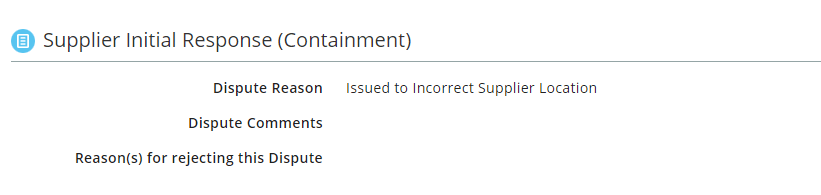
1. Open the record from the email link or from your My Tasks Summary To view the details as to why this Problem Case has been disputed, view the Dispute Reason field, and the data entered in the Dispute Comments field.
2. At this point you have two options:
a. Approve: Click the Dispute Accepted button in the menu bar.
i. The case will be cancelled in a disputed status. After clicking this button the case will not be reported in the Supplier’s scorecard.

b. Decline: Follow the steps below to Decline the Dispute:
i. Click the Edit button in the menu bar.

ii. Enter comments in the Reason(s) for rejecting this Dispute field.

iii. Click the Save button at the top in the menu bar and review the data
iv. Click the Dispute Not Accepted button in the menu bar. The Problem Case will be sent to the supplier.
3. Once you have completed one of the above options, your task is complete and will be removed from your My Tasks Summary
Initial Response Review
Once the supplier submits the Initial Response for the Problem Case, the Complaint Issuer will be responsible to complete the initial approval task. An email notification will be sent, as well as a task added to your My Tasks Summary page. Follow the steps below to complete the approval task:
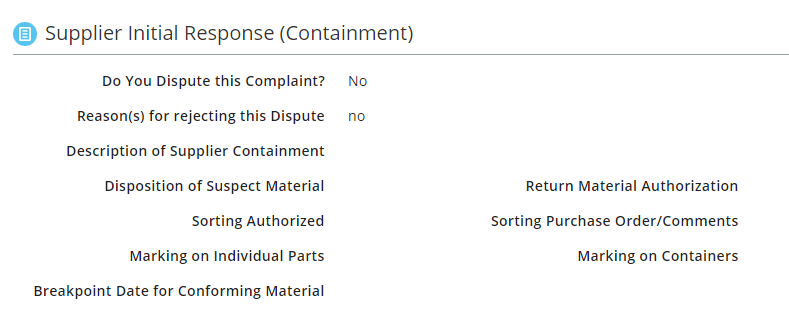
1. Review the information contained in the new section: Supplier Initial Response (Containment).
2. Once reviewed a comment may be added within the Initial Response Approval Note: If there is a need to Request More Information from the supplier, a comment is required to be entered. To do this, click the Edit button in the menu bar, enter comments into the field Initial Approval/Rejection Comments. Then click the Save button from the menu bar.

3. Once you have saved and reviewed the data entered by the supplier, select one of the following three options:
a. Accept Response: Click the Approve button from the menu bar if you are satisfied with the supplier’s response. This sends the record back to the supplier for the Final Response – Root Cause/Corrective Action Plan.
b. Reject Response: Click the Request More Information button from the menu bar if you are not satisfied with the supplier initial response, then click OK in the confirmation box This sends the record back to the Supplier Initial Response (Containment)
c. Cancel: Click the Cancel Case button from the menu bar to go into Cancellation Workflow.

4. Once you have completed one of the above options, your task is complete and it will be removed from your My Tasks Summary
Root Cause/Corrective Action Plan Review (Nexteer to Nexteer, Supplier Region SQE)
Once the supplier has completed their investigation of the Problem Case, a task will be assigned to review the Root Cause/Corrective Action Plan. An email notification will be sent, as well as a task added to your My Tasks Summary page. Open the task either from the link within the email or from your task list and follow the steps below:
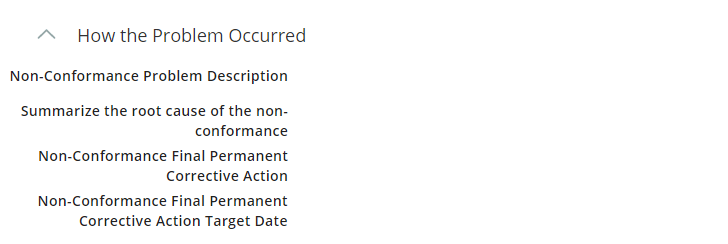
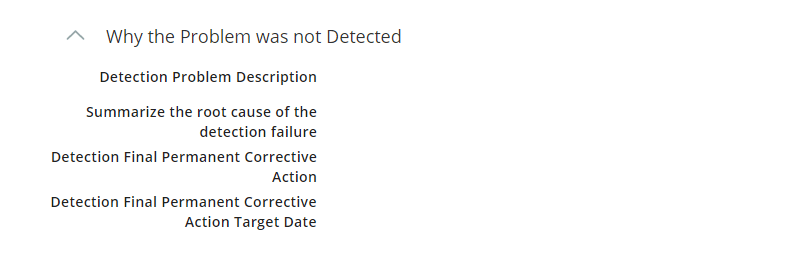
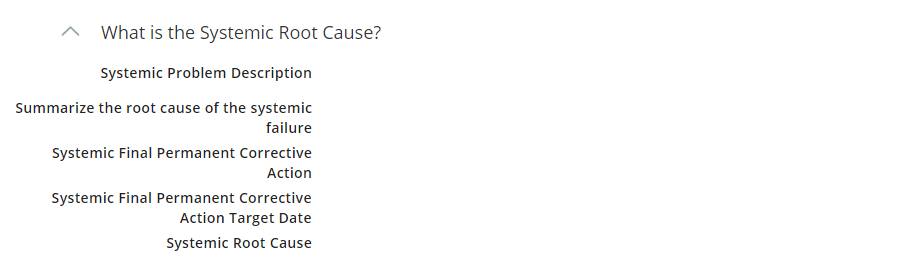
1. A new section: Root Cause/Corrective Action Plan is now visible in the Problem Case. The answers provided in this section are equivalent to a supplier’s 5Why document. Within this area are five subsections.
How the Problem Occurred:
Why the Problem was not Detected:
What is the Systemic Root Cause?
Lessons Learned and Look Across Requirements:

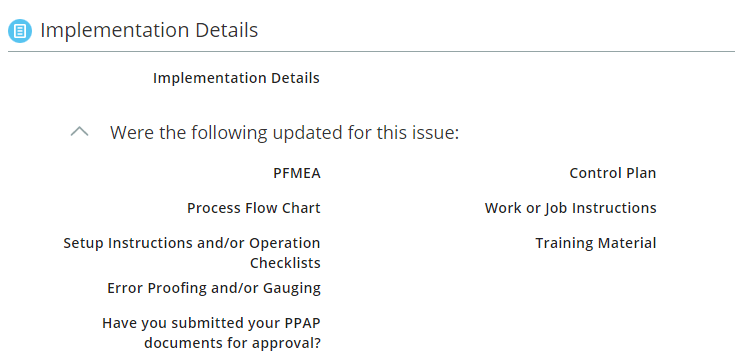
Indicate whether the following will be updated for this issue:
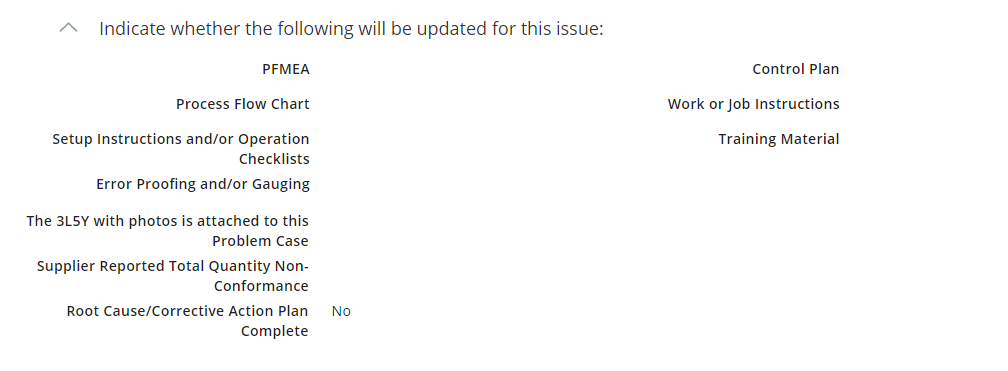
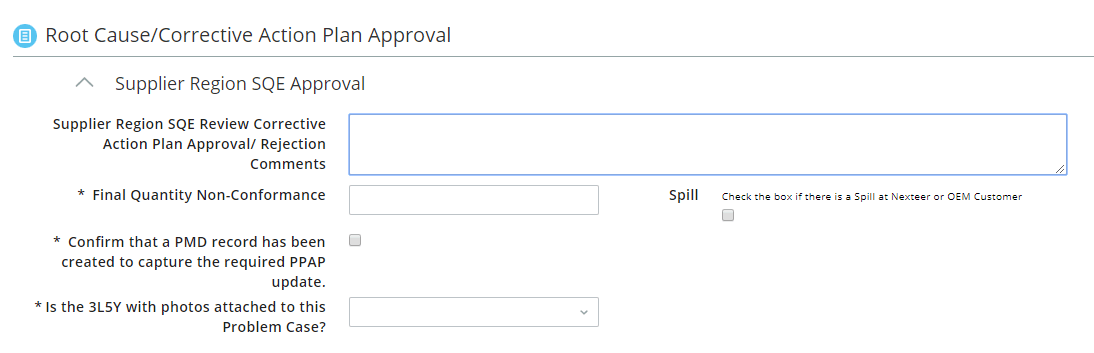
2. Once reviewed, a comment can be added into the Root Cause/Corrective Action Plan Approval section in the Supplier Region SQE Review Corrective Action Plan Approval/Rejection Comments
3. Click the Edit button in the menu bar to edit this field. You must complete all required fields (marked with an *).
4. Once you have saved and reviewed the data entered by the supplier, select one of the following three options:
a. Approve: If satisfied with the Root Cause/Corrective Action Plan, click the Approve button in the menu bar.
This will send the Problem Case to the next stage of Workflow, depending on type of Problem Case:
i. A case that is marked as Nexteer to Nexteer, or has a Problem Qualifier of Shipping, or Prototype, will go onto the Implementation Plan stage
ii. A case that is not marked as Nexteer to Nexteer, or does not have a Problem Qualifier of Shipping or Prototype, goes to the Nexteer Plant Region SQE for review of the Root Cause/Corrective Action Plan
b. Reject: If unsatisfied with the Root Cause/Corrective Action Plan, click the Request More Information button in the menu bar. This will send the form back to the Supplier for an update to the response
c. Cancel Case: This will cause the Problem Case to go into Cancellation Workflow.

Root Cause/Corrective Action Plan Review (Nexteer Plant Region SQE)
After the Supplier Region SQE approves the Problem Case, another task will be assigned to review the Root Cause/Corrective Action Plan. An email notification will be sent, as well as a task added to your My Tasks Summary page. Open the task either from the link within the email or from your task list and follow the steps below:
1. The Root Cause/Corrective Action Plan section is now visible in the Problem Case. The answers provided in this section are equivalent to a supplier’s 5Why document. Within this area are five subsections (details above).
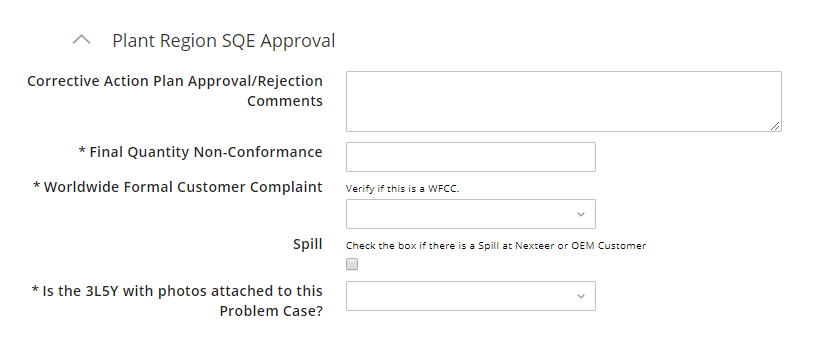
2. A comment can be added into the Root Cause/Corrective Action Plan Approval section in the Plant Region SQE Review Corrective Action Plan Approval/Rejection Comments field.
3. Click the Edit button in the menu bar to edit this field. You must complete all required fields (marked with an *).
4. Once you have saved and reviewed the data entered by the supplier, select one of the following three options:
a. Approve: If satisfied with the Root Cause/Corrective Action Plan, click the Approve button in the menu bar.
b. Reject: If unsatisfied with the Root Cause/Corrective Action Plan, click the Request More Information button in the menu bar. This will send the form back to the Supplier Region SQE to determine next steps for the Problem Case.
c. Cancel Case: This will cause the Problem Case to go into the Cancellation Workflow.

Root Cause/Corrective Action Plan Approval Hold
If the Problem Case is not Nexteer to Nexteer, Shipping, or Prototype, and World Wide Formal Customer Complaint (WFCC) is checked but not reviewed, it will go into this hold stage. Upon entering this stage, a notification should be made to the Complaint Issuer informing them that they have 2 days to provide any objections of the Corrective Action Plan Approval via email to the Nexteer Plant Region SQE.

Once 2 days has passed then the Nexteer Plant Region SQE has three options:
1. Approve: If there are no objections from the Complaint Issuer, click the Approve button in the menu bar. This will send the Problem Case into the Implementation
2. Reject: If an objection was raised by the Complaint Issuer, or Plant, click the Request More Information button in the menu bar. This will then send it back to the Supplier Region SQE determine next steps for the Problem Case.
3. Cancel: This will cause the Problem Case to go into the Cancellation Workflow
Implementation Review (Supplier Region SQE)
Once the supplier has completed their Implementation Plan, an email notification will be sent, as well as a task added to your My Tasks Summary page. Open the task either from the link within the email or from your task list and follow the steps below:
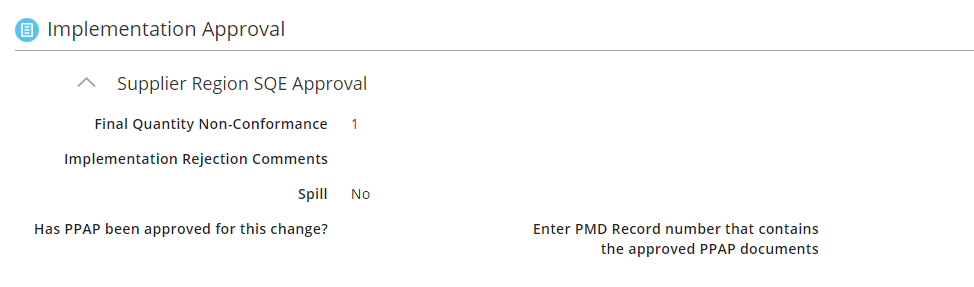
1. Scroll down to the new section of the Problem Case, Implementation Details.

2. If desired, add comments in the Implementation Rejection Comments To edit this field, click the Edit button in the menu bar. Note: To Request More Information from the supplier, comments must be entered.
3. Once you have saved and reviewed the data entered by the supplier, select one of the following three options:
a. Approve: If satisfied with the Implementation Plan, click the Approve button in the menu bar. The Problem Case will go to the Issuing Plant Region SQE for review if it is not a Nexteer to Nexteer, Shipping, or Prototype case, otherwise it will be closed.
b. Reject: If unsatisfied with Implementation Plan, you can reject it by clicking the Request More Information button in the menu bar. This will send the form back to the Supplier for them to correct their response.
c. Cancel Case: This will cause the Problem Case to go into the Cancellation Workflow.
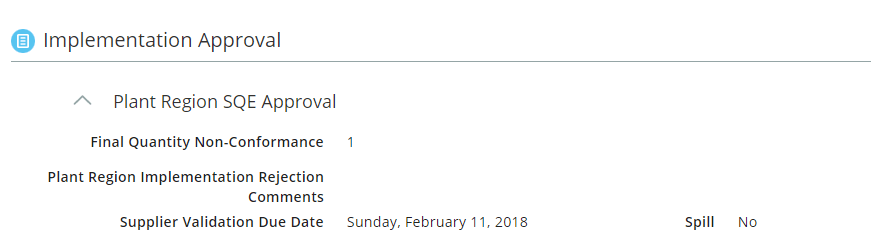
Implementation Review (Nexteer Plant Region SQE)
Once the supplier has completed their Implementation Plan, an email notification will be sent, as well as a task added to your My Tasks Summary page. Open the task either from the link within the email or from your task list and follow the steps below:
1. Scroll down to the new section of the Problem Case, Implementation Plan.
2. If desired, add comments in the Plant Region Implementation Rejection Comments To edit this field, click the Edit button in the menu bar. Note: To Request More Information from the supplier, comments must be entered.
3. Once you have saved and reviewed the data entered by the supplier, select one of the following three options:
a. Approve: If satisfied with the Implementation Plan, click the Approve button in the menu bar.
b. Reject: If unsatisfied with the Implementation Plan, click the Request More Information button in the menu bar. The Problem Case will be sent to the Supplier Region SQE to determine the next steps for the Problem Case.
c. Cancel Case: This will cause the Problem Case to go into the Cancellation Workflow

Implementation Hold
If the Problem Case is not Nexteer to Nexteer, Shipping, or Prototype, and World Wide Formal Customer Complaint (WFCC) is checked but not reviewed, it will go into this hold stage. Once entering this stage, a notification should be made to the Complaint Issuer informing them that they have 2 days to provide any objections of the Implementation via email to the Nexteer Plant Region SQE.

Once 2 days has passed and there are no objections then the Plant Region SQE has four options:
a. Approve: If satisfied with the Implementation Plan and no Validation is necessary, click the Approve button in the menu bar. This will close the Problem Case.
b. Request for Validation: If satisfied with the Implementation Plan, but feel that it needs Validation, click the Validation Required button in the menu bar. This will send the Problem Case on for Validation.
c. Reject: If an objection was raised by the Complaint Issuer, or Plant, click the Request More Information button in the menu bar. This will send the case back to the Supplier Region SQE who can then reject it back to the supplier.
d. Cancel Case: This will cause the Problem Case to go into the Cancellation Workflow
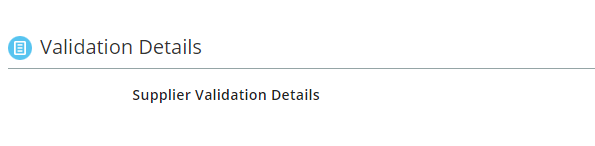
Validation Review
Once the supplier has completed the Validation Details, an email notification will be sent, as well as a task added to your My Tasks Summary page. Open the task either from the link within the email or from your task list and follow the steps below:
1. Scroll down to the new section Validation Details to review the field Supplier Validation Details.
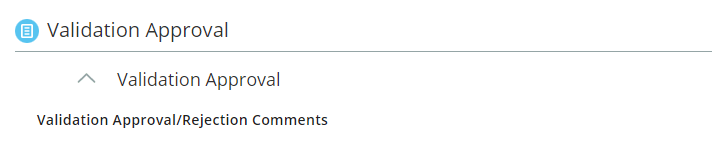
2. After reviewing the Validation Details, add comments in the Validation Approval section under the Validation Approval/Rejection Comments To edit this field, click the Edit button in the menu bar. Note: To Request More Information from the supplier, comments must be entered.
3. Once you have saved and reviewed the data entered by the supplier, select one of the following three options:
a. Approve: If satisfied with the supplier’s Validation Details, click the Approve button in the menu bar.
b. Reject: If unsatisfied with the supplier’s Validation Details, click the Request More Information button in the menu bar.
c. Cancel Case: This will cause the Problem Case to go into the Cancellation Workflow

Validation Hold
If the Problem Case is not Nexteer to Nexteer, Shipping, or Prototype, and World Wide Formal Customer Complaint (WFCC) is checked but not reviewed, it will go into this hold stage. Once entering this stage, a notification should be made to the Complaint Issuer informing them that they have 2 days to provide any objections of the Implementation via email to the Nexteer Plant Region SQE.
Once 2 days has passed the Nexteer Issuing Plant SQE has three options:
1. Approve: If satisfied with the Validation, click the Approve button in the menu bar.
2. Reject: If an objection was raised by the Complaint Issuer, or Plant, perform the following steps:
a. Click the Edit button in the menu bar.
b. In the Validation Approval section, enter reasons for rejection into the Validation Approval Hold Comments Click Save.
c. Click the Request More Information button in the menu bar.
3. Cancel: This will cause the Problem Case to go into the Cancellation Workflow.

Problem Case Cancellation Process
SUBMITTING A PROBLEM CASE FOR CANCELLATION
To cancel a Problem Case, an authorized Nexteer user will see the Cancel Case button on all the stages of the Problem Case (regardless if it is a Nexteer owned or a Supplier owned stage). A Problem Case can be cancelled at any time until the Problem Case is closed. A request to cancel the Problem Case will follow the cancellation approval workflow process. If the Problem Case is in the Draft stage, an approval of the cancellation will not be required.
Note: A Problem Case issued to an External Supplier will require approval of the cancellation to come from the Complaint Issuer as well as Supplier Quality. Once a case enters the cancellation workflow, it remains in that flow, unable to be worked, until the approver(s) disposition the cancellation request. Therefore if a cancellation is requested in error, the request must still be submitted and communication to the approver to reject the cancellation must occur.
To Cancel a Problem Case you must do the following:
1. Click on the Cancel Case
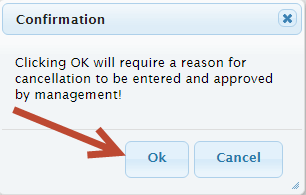
2. Confirm that you want to cancel the Problem Case by clicking Ok.
3. Click the Edit button to enter comments in the “Cancel Case Justification” field.

4. Click Save. This will allow you to review your request prior to submission
5. Click Submit Request.

The Problem case has now been submitted for approval of this cancellation. The Problem Case is NOT cancelled and will still impact the supplier’s scorecard. Note: Nexteer to Nexteer cases will be assigned to the Complaint Issuer of the Problem Case for approval of this cancellation.
REVIEWING A PROBLEM CASE CANCELLATION REQUEST
Once a Nexteer user has submitted a cancellation request, the Cancellation Request Reviewer will receive an email that a task exists in Intelex to review a request to cancel a Problem Case. To review the request, open the Problem Case and follow these steps:
- Review the comments in the “Cancel Case Justification” field within the Cancel Case Request detail section. Then, perform one of the following 3 options:
a. Accept Request:
i. If desired, comments can be added to the Problem Case by clicking on the Edit button and entering comments in the available field. Click Save.
ii. Click the Accept Request button.
iii. Confirm the acceptance of this cancellation by clicking the Ok button.
For Nexteer to Nexteer cases, the Problem Case is Cancelled and no further actions can be performed.
For External Supplier cases, the Problem Case will now be sent to the Complaint Issuer for review and acceptance of this cancellation request. The Problem Case will still impact the supplier’s scorecard until the Complaint Issuer has approved this request.
b. Reject Request:
i. To reject the request, click the Edit button and enter comments in the “Cancel Case Rejection Comments” field. Click Save.
ii. Click the Reject Request button.
At this point the Problem Case will go back to the original stage that the Problem Case was when the request was submitted.
c. Request More Information:
i. To request more information, click the Edit button and enter comments in the “Cancel Case Rejection Comments” field. Click Save.
ii. Click the Request More Information button.
The Problem Case will go back to the requestor to provide more information.

For downloadable user guide, click here.